How to Earn Money with FIFA 23: Exploring Opportunities in the Game

FIFA 23, the latest installment in the popular football video game series, not only provides immersive gameplay but also offers potential avenues for players to earn money. With its extensive online features and competitive gaming scene, FIFA 23 opens up several opportunities for individuals to generate income. This essay will explore various strategies and avenues through which players can monetize their skills and passion for the game.

Competitive Gaming
FIFA 23 offers a vibrant competitive gaming scene where players can participate in tournaments and leagues to earn money. Joining online leagues or entering official FIFA eSports competitions can lead to substantial cash prizes, sponsorships, and recognition within the gaming community. To succeed in competitive gaming, players must dedicate time to practice, master the game mechanics, and develop strategic skills. Building a strong reputation in the FIFA eSports scene can attract sponsorships and potential income streams.

Streaming and Content Creation
The rise of live streaming platforms such as Twitch and YouTube Gaming has created a significant opportunity for gamers to monetize their gameplay and entertain viewers. By streaming FIFA 23 gameplay sessions, players can attract a dedicated audience, build a community, and earn money through donations, sponsorships, and advertising revenue. Content creators can also produce tutorials, gameplay highlights, and analysis videos, providing valuable insights and entertainment to FIFA enthusiasts.

Trading and Virtual Currency
Within the FIFA 23 ecosystem, virtual currency plays a crucial role. Players can earn FIFA 23 coins by participating in matches, completing objectives, and trading items on the game’s market. By investing time and effort into the game’s trading system, players can accumulate wealth and sell high-demand players, consumables, and other valuable items for real money. However, it is important to note that selling virtual items for real-world currency may violate the game’s terms of service, and caution should be exercised to avoid potential penalties.

Coaching and Tutoring
With millions of FIFA players worldwide, there is a demand for skilled coaches and tutors who can help others improve their gameplay. If you have exceptional skills and a deep understanding of FIFA 23’s mechanics and strategies, you can offer coaching services to aspiring players. This can be done through one-on-one sessions, group training, or even creating online courses and guides. Coaching and tutoring can provide a consistent income stream while allowing you to share your expertise and help others succeed in the game.

Organizing Tournaments and Events
FIFA 23 fosters a sense of community and competition, making it an ideal platform for organizing tournaments and events. By hosting local or online FIFA tournaments, you can generate revenue through participant entry fees, sponsorships, and merchandise sales. With careful planning, effective marketing, and engaging event management, organizing FIFA tournaments can not only provide financial gains but also establish your reputation within the gaming community.

Influencer and Brand Partnerships
If you manage to build a substantial following on social media platforms through your FIFA 23 content, you may attract the attention of brands and sponsors looking to reach a gaming audience. Companies may offer partnerships or sponsorships, providing opportunities for additional income through brand endorsements, collaborations, and promotional campaigns. It is important to maintain authenticity and choose partnerships that align with your values and the interests of your audience.

Conclusion
FIFA 23 offers various avenues for players to earn money by leveraging their skills and passion for the game. From competitive gaming and content creation to trading and coaching, the game provides opportunities for individuals to monetize their expertise and build a sustainable income stream. However, it is essential to approach these opportunities with dedication, professionalism, and an understanding of the game’s terms and conditions. By combining talent, hard work, and entrepreneurial spirit, FIFA 23 can be more than just a game – it can become a pathway to financial success in the world of gaming.

Open post

OSRS King’s Ransom Quest Guide

This is the last quest that relates to the Camelot quest series. During your journey, you will be tasked to unveil the dreadful plot that Morgan Le Faye and the Sinclair family have made to destroy Camelot. You won’t have a lot of clues and time on your hands, but you must try your level best to solve this mystery, and that’s why we’re here to guide you through. So, without further ado, let’s begin!

Quest Requirements

You’ll need a number of requirements for this quest, and before we get to that part, let’s have a look at the skill and quest requirements. You will need at least 45 Magic and 65 Defense, along with a few completed quests, such as Merlin’s Crystal, Murder Mystery, Jungle Potion, Rune Mysteries, One Small Favor, Holy Grail, Shilo Village, Black Knight’s Fortress, and Druidic Ritual.

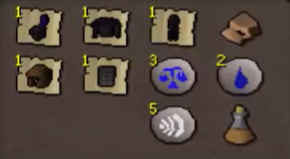
Moving towards the item requirements, you’ll need Telekinetic Grab spell casting runes, Granite, Full Black Armor, Bronze Med Helm, and an Iron Chain Body. You will also require an Animate Rock Scroll, but that can be obtained during the quest.

The Quest

To start this quest, you will first have to speak with Gossip, who is located outside the Sinclair Mansion. You can find the mansion just northwest of Camelot Castle. You will be informed that the Sinclair family has left and everyone is now accusing Anna of the killer of the family lord. Gossip will also tell you that someone showed him evidence that Anna was guilty, and that someone was a member of the Sinclair family. The conversation will lead to King Arthurs disappearance, along with the Knights of the Round Table, and that the occurrence happened around the same time.

Moving on, you will now need to investigate further, so head to the suspicious guard who thinks the Sinclair family was involved in the disappearance of King Arthur and his Knights. He will also bring it to your notice that something big is being planned and that Camelot Castle is their primary target.

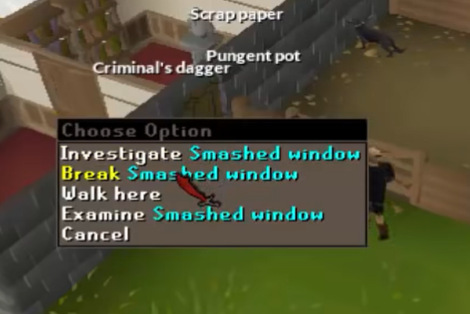
You will now need to investigate the Sinclair Mansion, but you cannot access it because no one is allowed to enter as the area is under investigation. So, smash the window on the eastern side of the mansion, and once you’re inside, head to the dining room on the ground floor to grab the Scrap Paper. Then, go to the first floor and right into the library to find an Address Form. Finally, grab the Black Knights’ Helm from the bookcases just west from where you’re standing.

Take the three items to the guard, who will agree that there’s some kind of mystery revolving around the disappearance of the King. He will take the items and ask you to wait for a month for the procedure to be carried out. From there, head back to the Gossip and speak to him about the history of the Sinclair family. He’ll tell you three different stories, and once you’re done with the conversation, make your way to the Seers’ Village’s courthouse.

Here you will find Anna, who will explain how she got accused and set up by the real killer, and that no one is believing her side of the story. After asking her the whereabouts of her family, she will strike a deal with you in which you will get access to the Camelot Castle for proving her not guilty. Before you leave to get testimonies from the family servants, you will be given the Criminal’s Thread by her. During this part of the quest, it’s easy if you skip the long talks and directly head downstairs of the courthouse to begin the trial. In any case, if you want to go through it, you can find the six servants at the back of the Sinclair Mansion.

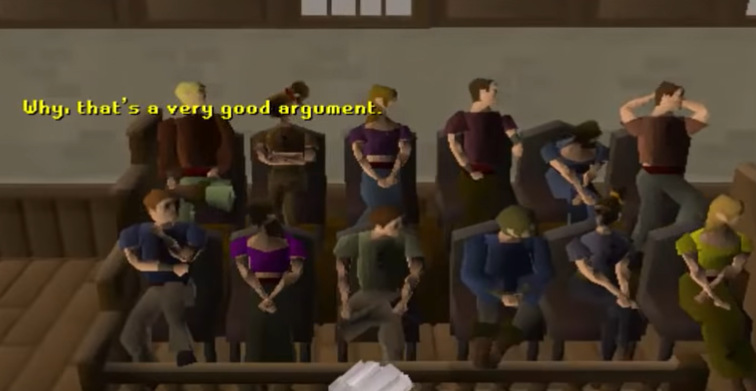
During the trial, you will personally have to call the witnesses by speaking to the judge, who is in front of you. To find the actual killer, you will have to present the evidence of the unused poison and Anna’s fingerprints, along with the thread that she had given you. The evidence should be rebutted in a manner that the judge believes that his thread was found at the crime scene, and she was present there at that time.

When it’s time to call the witnesses, call upon the butler first and ask him about the dagger. Then, call the dog caretaker to question about the unused poison, and the maid to know where she was on the night of the crime. In the end, you can anyone who is left to enquire about the thread and end your case. The judge will pleasantly end the trial while asking for a verdict, which will obviously be not guilty since you’ve presented your case so well.

Now, exit the courtroom and speak to Anna in the cells to leak the information about getting into Camelot. Make your way to the eastern side of the castle and check the statue located nearby the temple to trigger a cutscene. Sadly, the cutscene will reveal that you’ve been set up by Anna and David, and you’re entirely responsible for the death of Lord Sinclair. Out of the blue, Morgan Le Faye will suddenly appear and knock you out.

When you wake up in the osrs king’s ransom quest, you will notice that you’re in jail with Merlin and the King Arthur’s Knights with you. Speak to Merlin and he’ll explain how the King has been turned into a granite statue, and that the Sinclair family has shaken hands with Morgan Le Faye to gain ownership on Camelot. Their main motive is to steal the Holy Grail.

Ask Merlin of the osrs king’s ransom quest what to do about the ongoing situation, and then once the conversation ends, open the vent that is opposite the gate. Another cutscene will trigger, where the Knights help Merlin escape by making a human pyramid. You can then speak to the Knights until you receive a Lockpick, which can be used to escape through the jail. An alternate way is to use the Telekinetic Grab spell to get a Hair Clip. However, escaping won’t be that easy because you will have to solve a puzzle to unlock the cell door, and the best strategy would be to set everything at zero first and then try cracking the lock. Once you’ve successfully escaped, you will find yourself in the basement of Keep Le Faye.

You will need to head to the top floor of the building in this king’s ransom osrs quest and look for a riddle on the table located in the northern part of the room. Solve the riddle by choosing the right contained, which is the second one to the last purple box on the right-hand side. Once you’ve obtained the Holy Grail, it is time to free King Arthur.

Make your way north-east of Ardougne to meet the Wizard Cromperty, and he’ll explain to you the method that can be used to free King Arthur in the king’s ransom osrs quest. He will then give you an Animated Rock Scroll that can be used on the King, along with the Holy Grant and the Granite which you already have with you beforehand. Also, make sure that you have the three armor pieces mentioned in the requirement section above because you’ll need them now.

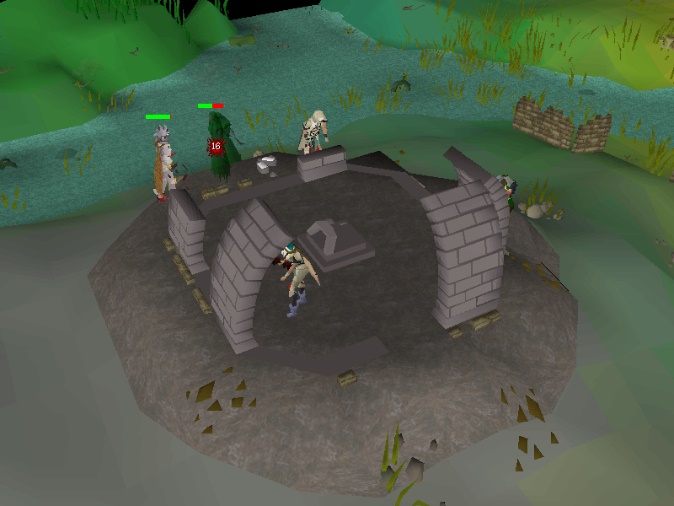
So, make your way north of the Ice Mountain and right into the Black Knights Fortress while having the armor pieces equipped. Push the wall behind the guards’ door after going through it, and then go down the ladder to find Kind Arthur in the statue form. Click the free option and speak to him, while giving him your equipment so that he can safely return to his castle. Finally, go back to Camelot and speak to the king who has returned again to complete the quest.

Source: OSRS Gold, RS3 Gold, Items, Accounts And Other Runescape Service Seller – RSOrder.com!

Open post

D2R Trading Guide

In MMORPGs, trading is the most noteworthy activity to obtain items desired by players. Every item on Diablo 2 is tradeable, and that’s why it has a value attached to it. The value of the item depends on its demand in the game, which is why chase items at early stages are worth a fortune. While you’re farming for items, you also need to look out for the ones best suited for your character, as well as the ones that are worthy to sell.

How to trade?

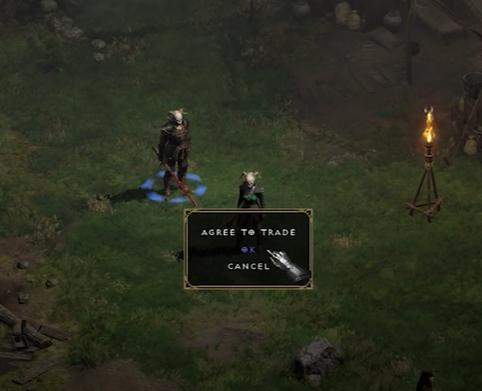
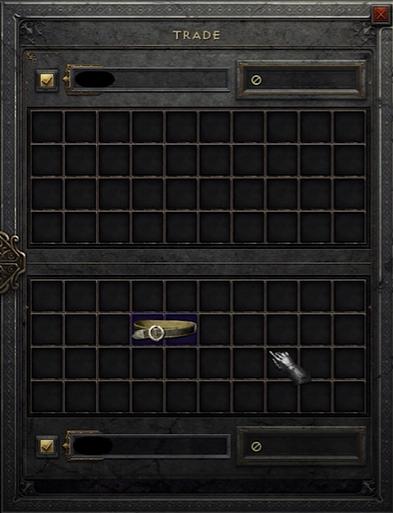
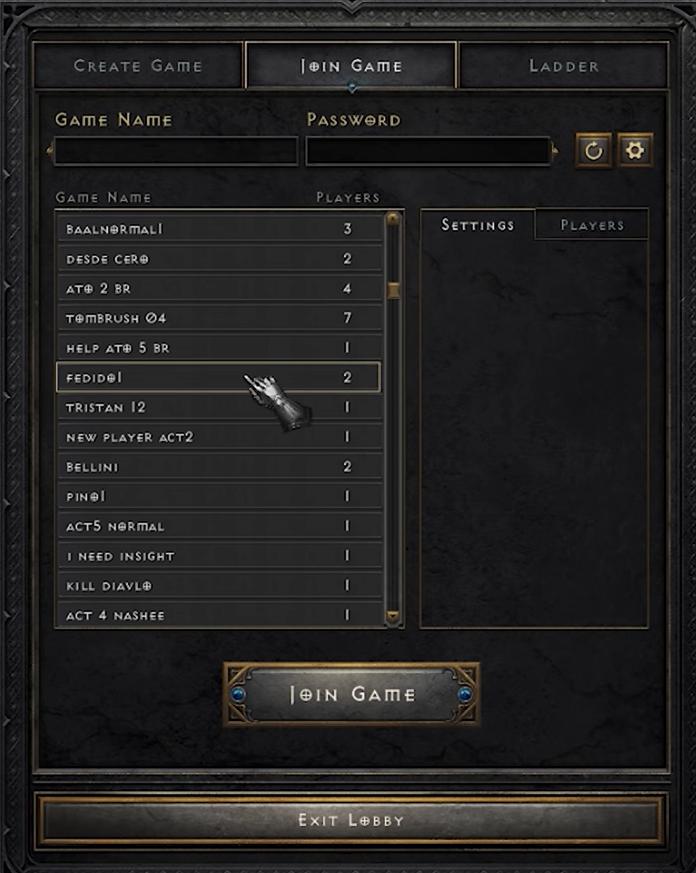
First, you need to join in the same game as your trading partner. Once that’s done, click on the partner’s character to send a trade request. After the opposite party accepts the invitation, a trade window interface will pop up for diablo 2 resurrected trade.

Now, both the parties have to place their items in the window, and you’ll need to have the negotiated item in your inventory, or else you won’t be able to do it. It’s also worth noting that you can’t access your stash while the trade window is opened for diablo 2 resurrected trade.

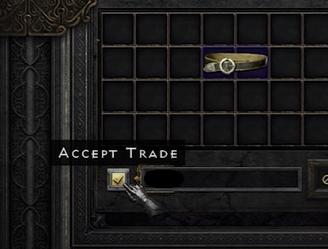
Once you both agree to the trade, you can click on the accept button to complete it. Also, if you or the other player makes any changes to the trade window during the accepting phase, the trade status will get removed for the d2r trade.

How to locate a trade partner?

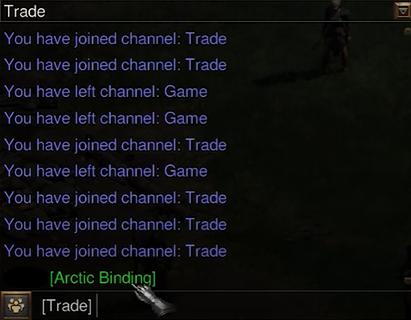
There are several locations where you can find a trade partner for diablo 2 resurrected trading. You can use trade lobby channels by either writing a message about the item you’re looking for or selling, or you can sit in the channel and look for players searching for the items you possess.

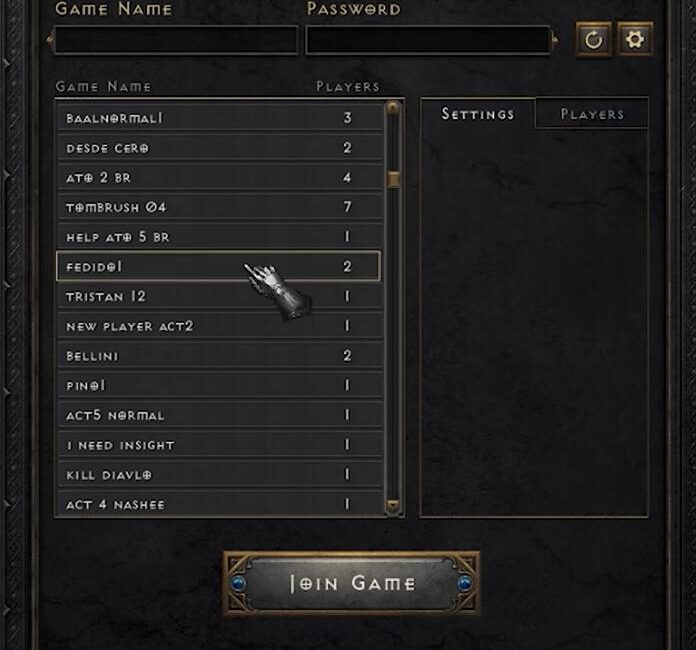
Another way is through trade games where you create games that title with the trade you want to perform. For instance, Offer XYZ Sword Need ABC Runes. You can extend the information about the trade game by adding a description. Once a player is interested, they can join your game and go through the trading procedure. It also works the other way around for d2r trade.

The final option is to join a discord server for hard or softcore trading. You can create a list of items that you’re looking for or you want to sell, and then once you get the opportunity, you can privately message the player on discord.

What are the common currencies?

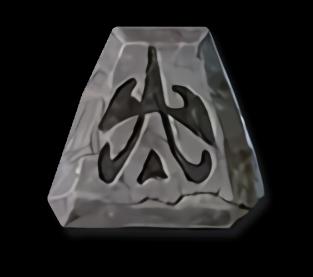
The most common currency in the game is Runes. Lem to Gul Runes are considered as Mid-Runes, and they are mainly used during low-value trades for diablo 2 resurrected trading. Whereas, Vex to Zod Runes are considered as High-Runes, and they are mainly used during high-value trades.

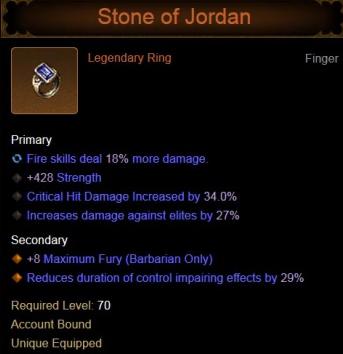
Besides that, there’s the Stone of Jordan, which is also an item used for trading as it holds the form of a currency in the game. It is of high value due to World Events, and they’re often utilized on character builds.

Here’s an approx. value of the currencies; however, they keep changing – Lem Rune is 0.02, Pul Rune is 0.04, Um Rune is 0.06, Mal Rune is 0.1, Ist Rune is 0.16, Gul Rune is 0.25, Vex Rune is 0.5, Ohm Rune is 1, Lo Rune is 1.5, Sur Rune is 1.5, Ber Rune is 3, Jah Rune is 2.5, Cham Rune is 0.4, and Zod Rune is 0.8

Trade Abbreviations

While knowing the basics of trading is important, abbreviations are too. That’s because players in the game often use them while looking for items to trade.

ISO is In Search Of. LF is Looking For. O is Offer. N is Needed/Need. T4T is Thanks for Trade. OBO is Or Best Offer. NN is No Need. No TY is No, Thank You. GN is the Game Name. Desc is Description. P is Perfect. SS is Stay Safe. WUG is What do you have for trade? WUN is What do you need? GLHF is Good Luck Have Fun. BT is Battle Tag. /w is Contact me via Whisper.

Open post

World of Warcraft Warrior Guide

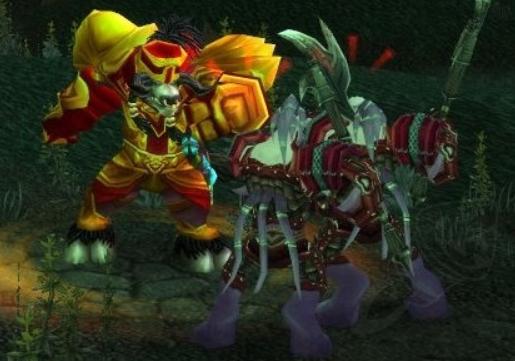
The leveling up process has gone through many changes in the Shadowlands, and by that, I mean leveling up as a Warrior, as it has gotten quite simple and straightforward. You can now generate the Charge ability to store energy and hit your enemies. You can also swap between DPS and Tank Specializations to quickly complete dungeons. Speaking in terms of questing, there are many tools that can help in keeping your character healthy, while dealing a great amount of damage in AOE and Single-Target scenarios for this wow warrior leveling spec. The following guide will provide you with the necessary information that you need to level up your warrior class character without any difficulties or bumps in your path.

Best Specialization for Warriors in Shadowlands

When you come across the phase where you have to choose a specialization to level up, you will have to figure out whether you want to do it as a Tank or DPS. Each of the three Warrior specs is capable enough for fast questing and leveling. However, if you choose to level up as a Fury or Arms, then keep in mind that during situations where you are having trouble getting into dungeon groups as DPS, you must swap to Protection – which is a quicker way to find a genuine dungeon group.

Speaking in terms of Fury and Arms, they are both solid to deal with solo content and can inflict a great deal of damage thanks to their abilities. They are quite sustaining to get through high-level mobs without slowing down. Protection Warriors deal less damage when compared to Fury and Arms, but they have their own strengths for this wow warrior leveling spec. A good example would be how Protection Warriors can pull many enemies together and still survive thanks to its extraordinary defensive abilities. In addition, they also have many offensive tools to offer, so questing swiftly is not going to be a problem. However, in the end, it’s all about the playstyle that you prefer and enjoy. So, without further ado, let’s get started with the guide.

Warrior Class: Ability Unlocks in Shadowlands

Levels 2 to 6

At level 2, you unlock the ability called Charge, which helps in closing the gap between you and your enemy target, while at the same time, generating a good amount of Rage. At level 3, you unlock the ability called Shield Slam, which deals damage to a single enemy target, and it should be used on cooldown until you decide on a spec at level 10. At level 3, you unlock the ability called Hamstring, which allows you to put some distance between you and the enemy target by slowing them down for wow warrior leveling guide. At level 5, you unlock the ability called Victory Rush, which allows you to heal yourself as you defeat an enemy, making it a good source to maintain your health while leveling up. At level 6, you unlock the abilities called Shield Block and Executive, which is a powerful defensive ability that blocks physical attacks, and a high-damaging combat finisher used on mobs that have their health down to below 20%, respectively. However, you cannot unlock Execute, until or unless you have completed the quest ‘A Warrior’s End’ for this wow warrior leveling guide.

Levels 7 to 34

At level 7, you unlock the ability called Pummel, which interrupts the enemy’s spellcasting and prevents them from casting it again (short duration). At level 8, you unlock the ability called Taunt, which is a threat ability that forces the enemy to focus its attacks on you. At level 9, you unlock the ability called Whirlwind, which is an AOE tool that deals damage to up to five enemies. At level 17, you unlock the ability called Ignore Pain, which is a shielding ability that absorbs partial incoming damage. At level 24, you unlock the ability called Heroic Throw, which allows players using Ranged Attacks to deal damage to the enemies who are far across the area (AGGRO) for this wow warrior guide. At level 29, you unlock the ability called Berserker Rage, which is again a defensive ability, but it removes the loss from control effects. At level 33, you unlock the ability called Heroic Leap, which allows you to swiftly leap from one tile to another. At level 34, you unlock the ability called Intimidating Shout, which disorients the enemy targets around you for a short period of time.

Levels 39 to 54

At level 39, you unlock the ability called Battle Shout, which is an intense group-wide buff that increases the damage inflicted upon the enemy. At level 41 for this wow warrior guide, you unlock the ability called Shattering Throw, which is another Ranged ability that has a cast time and deals a good amount of damage against absorbs. It also assists in removing any magical immunities. At level 46, you unlock the ability called Rallying Cry, which is a defensive group cooldown that increases maximum and current health for a short duration of time. At level 47, you unlock the ability called Spell Reflection, which is a short buff that reduces the damage from incoming magical attacks, and at the same time, causes the hostile spells to be reflected back on the enemy. Finally, at level 57, you unlock the ability called Challenging Shout, which is a taunting ability that causes the enemy target to focus on you for six seconds.

Warrior Class: Best Heirloom for Levelling in Shadowlands

Heirlooms make the process of leveling up a lot smoother. When you purchase them, make sure that you get a Haste, because it helps in lowering the cooldown time for most of your abilities. Thus, making the process a lot easier.

Open post

OSRS 1 to 99 Firemaking Guide

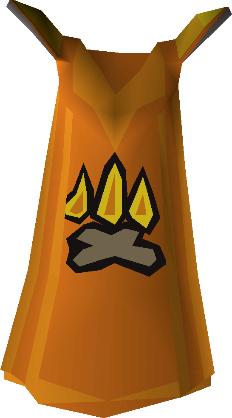
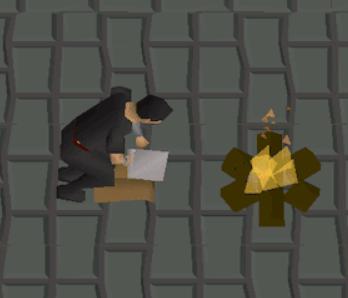
Fire Making came out during the release of RuneScape classic. It’s quite fast to train if you ask us. But the only downside is that there are no rewards and requires a good amount of OSRS Gold to level up. But hey, you do get an achievement cape! Let’s start with the guide, shall we?

Getting started

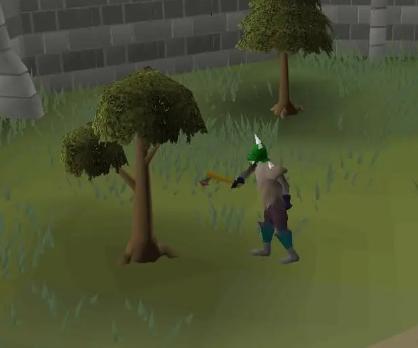
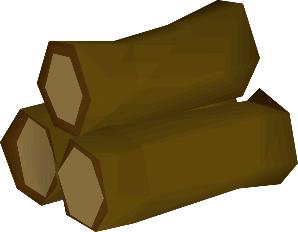
You can’t expect to get ‘anything’ out of the skill until the requirements to access Wintertodt and Shades of Mort’ton are unlocked. You’ll want to consider starting at a wide near close to a bank as it takes space to burn multiple logs. We recommend the Grand Exchange as you can see many power-leveling players Woodcutting and Fire Making together.

Level 1 to 50

Fire Making is rather expensive at the early levels because most players prefer purchasing the logs to save time. If you’re tight on money or playing on an Ironman account, we suggest you cut your own Logs and start burning them.

You can get around 50k XP per hour through regular Logs and get about 133k XP per hour with Willows. You can consider completing The Giant Dwarf and Enlightened Journey quests to get Fire Making XP and skip a few annoying levels.

Level 50 to 99

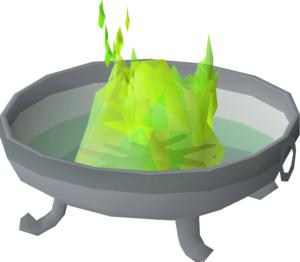
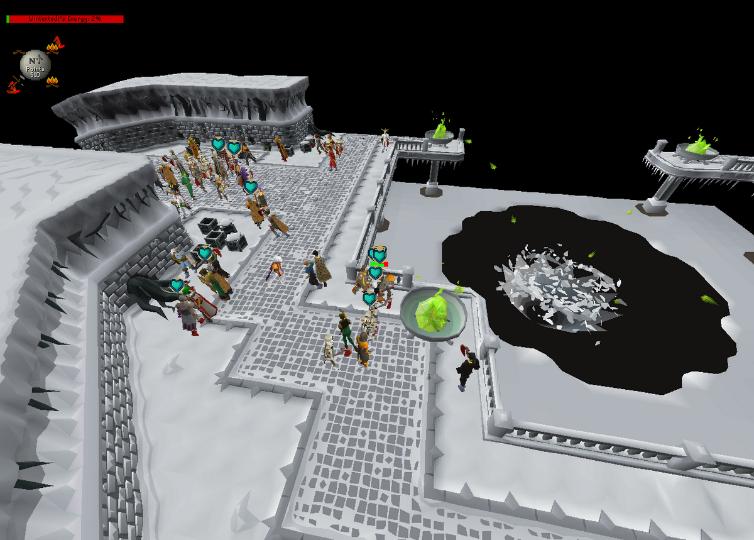
Being the most useless skill in the game, Jagex thought, “Hey, why not spice it up a little?”. Well, the result is Wintertodt minigame. Players often continue here till they max out. The approach is kind of AFK and requires no RS Gold to level up.

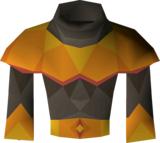
Make sure you have a warm outfit to avoid damage from the cold. The standard items that you should bring include a Bear Head, Fire Cape, Tome of Fire, Fremmenik Gloves, Clue Hunter Outfit, and a Fire Staff. You can also equip a Lumberjack Hat for Woodcutting XP.

The objective is to reach a minimum of 500 points in every game, or else you won’t be rewarded with XP or a loot crate. You can get about 150k XP per hour in Wintertodt, and once past level 90, the XP rates rise up to 300k per hour.

Level 60+

Burning Yew Logs are quicker than the Wintertodt approach at or after level 60 Fire Marking. While Yews are cheaper than Magic, the price reflects a lot because they’re used to train Fletching. You can expect about 300k XP per hour through this method.

Level 90+

Redwood Trees were the latest addition back in the day. You can find them at the Woodcutting Guild. They don’t have any real use in the game, so you can purchase them at a lower price. But hey, in terms of XP, you can get about 500k per hour. Redwood costs 3x lower than Magic Logs!

Shades of Mort’ton

Another interactive way (similar to Wintertodt) to train your Fire Making is Shades of Mort’ton. The objective is to burn corpses drenched in Sacred Oil to receive Keys. You can use these keys on doors and chests for rewards. You can get over 150k XP per hour at Shades of Mort’ton.

THE F2P WAY!

As a F2P beginner, you need to grab an Axe and Tinderbox, and then start chopping and burning logs starting from regular at level 1, to oak at level 15, willow at level 30, maple at level 45, and yew at level 60. Continue with Yew Logs all the way to level 99.

Conclusion

Fire Making is a pretty straightforward skill to train. It may be a little click-intensive, but that’s something you need to master being an OSRS player. We hope our guide helps you on your journey to achieving level 99. Good luck!

Posts navigation

1 2 3 4 5 6 7
Scroll to top